To see the Start Here sheet, go to the Epson support main page, select your product, select Manuals, then click Start Here.
- Download and install the Epson Connect Printer Setup Utility.
- Agree to the End-User License Agreement, then click Next.

- Click Install, then Finish.
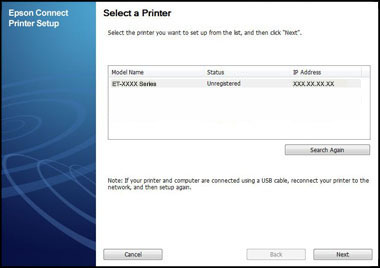
- Select your product, then click Next.
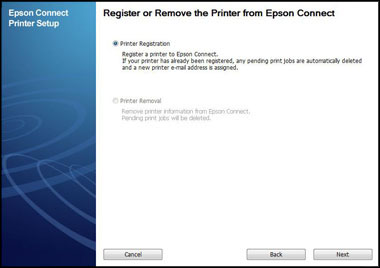
- Select Printer Registration, then click Next.
- Select Agree, then click Next.

- When you see the Register a printer to Epson Connect message, click OK.
- Do one of the following:
- If you're creating a new account, fill out the Create an Epson Connect Account form, then click Finish.
- If you're registering a new product with an existing account, select I already have an account, fill out the Add a new printer form, then click Add.
- Click Close.
- See our Activate Scan to Cloud and Remote Print instructions to activate the Scan to Cloud and Remote Print services.
