Home Updating Printer Firmware Using Epson Software Updater

Updating Printer Firmware Using Epson Software Updater


How to update your product's firmware in Windows using Epson Software Updater

  1. Do one of the following to open Epson Software Updater:

    Windows 10: Click the Start icon and select Epson Software > Epson Software Updater.
    Windows 8.x: Navigate to the Apps screen and select Epson Software > Epson Software Updater.
    Windows (other versions): Click the Start icon and select All Programs or Programs > Epson Software > Epson Software Updater.

    If you do not have the Epson Software Updater utility, you can download it here.

  2. Select your model from the list, if necessary.

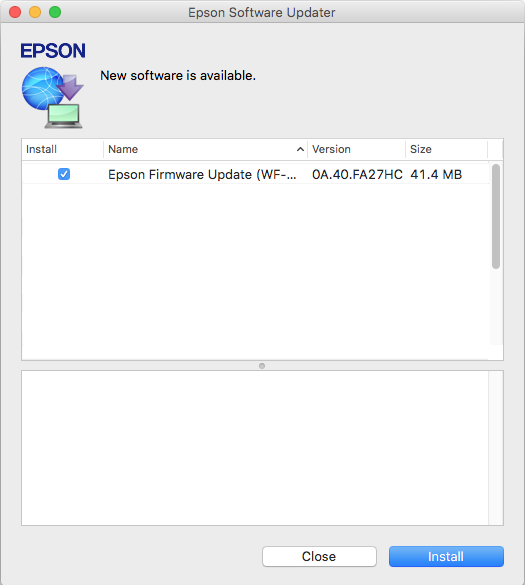
  3. Select Firmware Updater by checking the box next to it. (Epson recommends installing all Essential Product Updates.)

  4. Click the Install item(s) button.

    Epson Software Updater Screen with Firmware Updater box checked
     
  5. If you see a message asking “Do you want to allow this app to make changes to your device?”, select Yes.

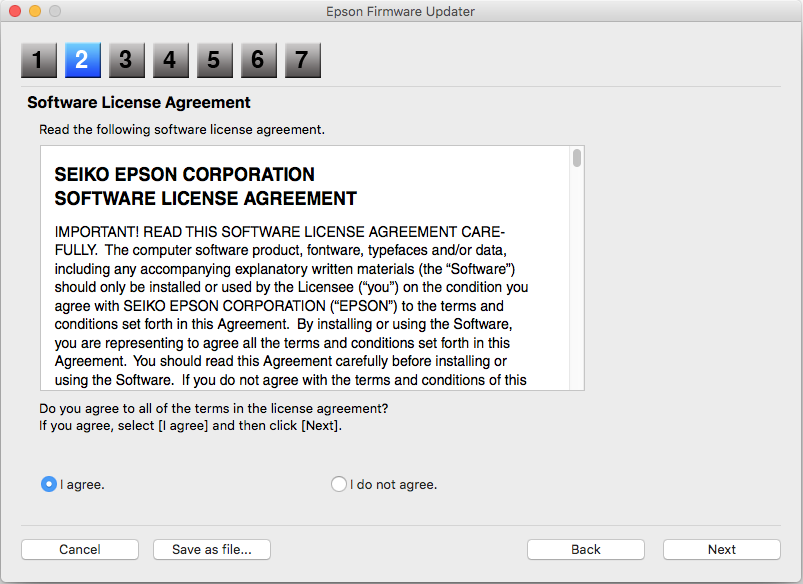
  6. Select Agree and click the OK button.

    Epson End-User License Agreement Window
     
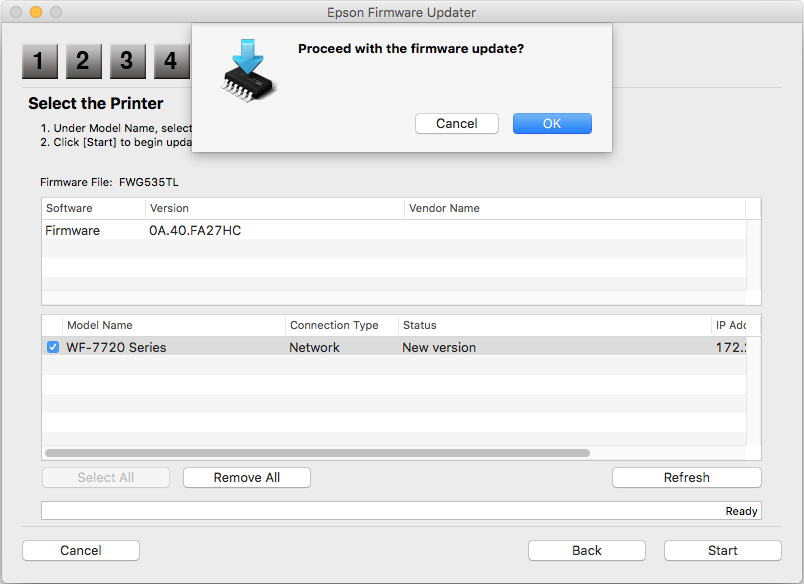
  7. When you see the Epson Firmware Updater screen, click the Start button.

    Epson Firmware Updater Screen with Start button selected

    Caution:
    • Wait for the firmware update to complete before using the printer.
    • Do not unplug the power cable or turn off your printer while firmware is updating. If your printer has an LCD screen, do not turn the printer off even if the screen turns blue or turns off.
    • The printer will restart on its own once the update has completed. If your printer has an LCD screen, it will show the home screen after restarting.
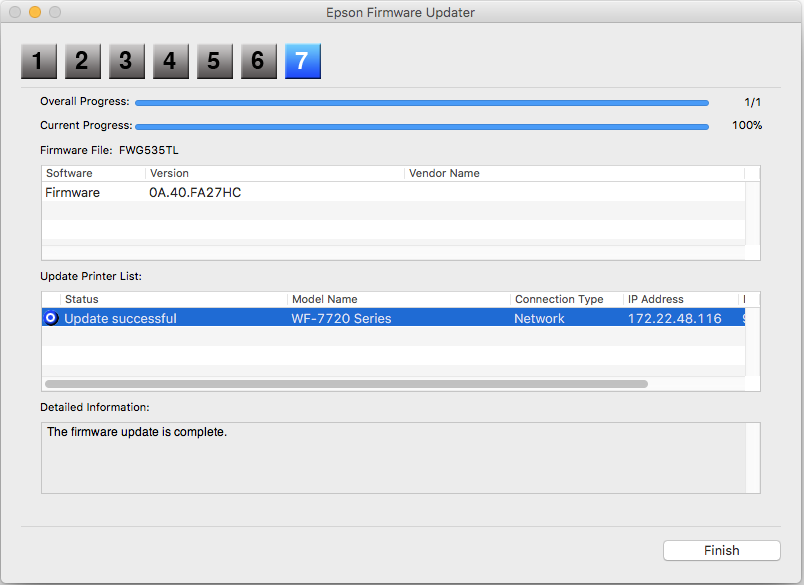
  8. When the firmware update is complete, click the Finish button.

    Epson Firmware Upddater window with green progress bars and Finish button selected

  9. When you see a completion message, click the OK button and close the Epson Software Updater utility.

    Epson Software Updater window with message reading The installation was successful


How to update your product's firmware in Mac OS X or macOS using Epson Software Updater

  1. Open Epson Software Updater from the Applications > Epson Software folder.

    If you do not have the Epson Software Updater utility, you can download it here.

  2. Select Epson Firmware Update by checking the box next to it, then click the Install button.

    Epson Software Updater window with Epson Firmware Update box checked and Install button selected

  3. Select Agree to continue.

    Epson End User License Agreement window
     
  4. Enter your user name and password, if necessary.

    Software Updater window with empty User Name and Password fields
     
  5. To run the firmware update utility, double-click the Epson Firmware Updater icon in the window that appears.

    Epson Firmware Updater download icon
     
  6. Select I Agree and click the Next button.

    Epson Firmware Updater Software License Agreement with I agree bubble selected
     
  7. Click the Start button and then the OK button.

    Epson Firmware Updater window with message that reads Proceed with the firmware update? and OK button selected

      Caution:
    • Wait for the firmware update to complete before using the printer.
    • Do not unplug the power cable or turn off your printer while firmware is updating. If your printer has an LCD screen, do not turn the printer off even if the screen turns blue or turns off.
    • The printer will restart on its own once the update has completed. If your printer has an LCD screen, it will show the home screen after restarting.
  8. Click the Finish button, then close the Epson Software Updater utility.

    Epson Firmware Updater window with Update successful message


Please enter a valid email address